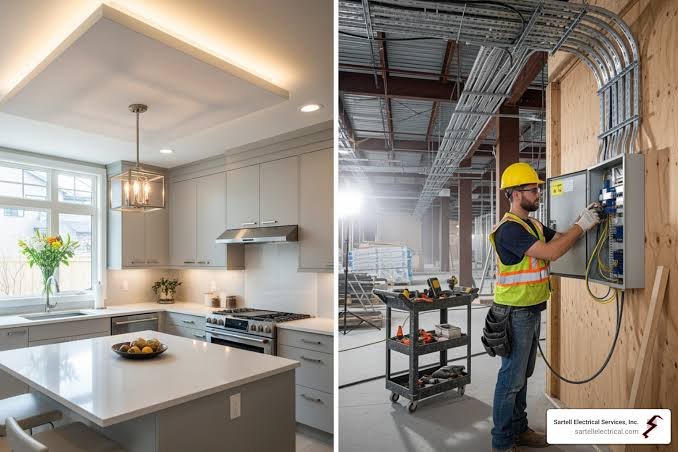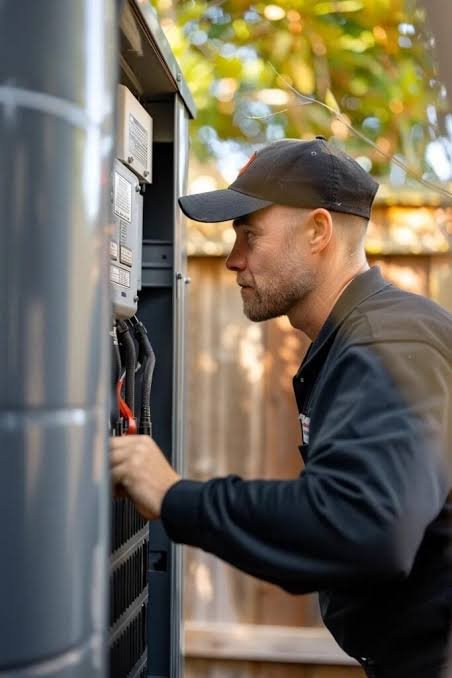
The biggest mistake homeowners make isn’t choosing the wrong charger — it’s buying one before finding out whether their home can actually support it. Working through these steps in the right order saves you from returning equipment, paying for rush electrical work, or discovering a panel upgrade you didn’t budget for. Here’s the sequence that actually works.
Step 1: Get a Professional Assessment Before Buying Anything
This is the step most homeowners skip, and it’s the one that prevents the most expensive mistakes. Before you purchase a specific charger, have a licensed electrician evaluate:
- Your panel’s total service size — most homes built after 2000 have 200-amp service, generally enough room to add a Level 2 charger; many older homes still run on 100-amp or even 60-amp service, which changes the calculation significantly
- Available breaker space — a Level 2 charger requires a double-pole breaker, taking up two adjacent slots in your panel. Even if your total amperage looks sufficient, a physically full panel is a separate problem
- Existing household loads — a proper load calculation accounts for what your home is already running (HVAC, water heater, range) to determine genuine spare capacity, not just a rough guess
Ask for a formal load calculation, not just a verbal assessment — this is the documented basis for sizing your circuit correctly and safely, and it’s worth having before you commit to a multi-thousand-dollar project.
[AD BREAK — insert in-content ad unit here]
Step 2: Understand What Happens If Your Panel Isn’t Ready
If the assessment reveals your panel doesn’t have adequate capacity or physical space, you have a few paths, and it’s worth knowing about them upfront rather than being surprised mid-project:
- Tandem breakers: if your panel is physically full but has some amperage headroom, an electrician can sometimes use tandem breakers to free up slots without a full panel replacement
- A subpanel: essentially an extension of your main panel, installed closer to your garage or parking area — a reasonable solution if your main panel is inconveniently located (a basement far from the garage, for example) or has no remaining capacity
- A full panel upgrade: the most expensive option, typically necessary only for older homes with genuinely insufficient total service (60-100 amp) trying to support a Level 2 charger alongside existing modern electrical demands
Knowing which of these applies to your home before you buy a charger prevents the frustrating scenario of purchasing equipment that then sits in a box while you sort out a panel issue you didn’t know existed.
Step 3: Choose Your Charger’s Location Before Buying
Where the charger will physically mount affects both installation cost and which charger makes sense:
- Confirm where you actually park, and pick a spot the cable can reach comfortably without stretching or creating a trip hazard across a walkway
- Factor in the distance from your electrical panel — the further the charger is from the panel, the more wiring the installation requires, which directly affects cost
- Decide whether the location will be indoor (garage) or outdoor-exposed, since this affects which chargers are appropriate (see our guide on chargers for cold and harsh climates if outdoor exposure is a factor)
[AD BREAK — insert in-content ad unit here]
Step 4: Decide on Connector Type Before You Buy
As of 2026, the industry has largely converged around two connector standards: J1772, used by most non-Tesla vehicles, and NACS (North American Charging Standard, also called J3400), which Tesla uses and which has become the broader industry benchmark as more automakers adopt it. If you don’t yet own the vehicle and are preparing in advance, this is worth some thought:
- If you’re fairly confident about which brand you’ll buy, match the connector accordingly
- If you’re not sure, or your household might end up with a mix of Tesla and non-Tesla vehicles, adapters are widely available and generally safe to use — don’t let connector uncertainty stall your planning, since it’s a solvable problem either way
Step 5: Check Your Local Permit Requirements
Most U.S. jurisdictions require an electrical permit for a new 240V EV circuit — even if the charger itself simply plugs into an outlet rather than being hardwired. This is a common misconception: people assume a plug-in setup avoids the permit process, but the permit requirement is typically about the new circuit itself, not how the charger connects to it.
- A licensed electrician handling your installation should pull the permit as part of the job — confirm this is included before work begins
- An inspection after installation is standard, and it verifies the work meets code
- Keep this documentation. Permit and inspection records matter for future home sales, and can be important if you ever need to file an insurance claim related to your electrical system
Step 6: Budget Realistically, Including the Possibility of Panel Work
A straightforward installation with adequate existing panel capacity typically runs $900-1,500 for the electrical work. If a panel upgrade or subpanel turns out to be necessary, that cost can increase substantially — sometimes doubling or more. Getting the Step 1 assessment done first means this possibility shows up in your planning early, not as a surprise change order partway through the project.
[AD BREAK — insert in-content ad unit here]
Step 7: If You’re Not Buying an EV Yet, Consider Pre-Wiring
If you’re planning to buy an EV in the next year or two but aren’t ready yet, or if you’re doing other electrical work (a remodel, a panel upgrade for an unrelated reason), this is the cheapest point to add EV-ready wiring. Running the circuit now — even without installing the charger itself yet — costs meaningfully less than doing it as a standalone project later, since the electrician is already on-site and the walls may already be open. Several homebuilders now offer this as a standard new-construction option specifically because the incremental cost during construction is so much lower than retrofitting afterward.
A Pre-Purchase Checklist
- Scheduled a professional load calculation and panel assessment
- Confirmed available breaker space (or identified a workaround: tandem breakers, subpanel)
- Chosen a charger location based on parking, cable reach, and panel distance
- Decided on connector type (J1772 vs. NACS) based on current or planned vehicle
- Confirmed permit requirements with your local jurisdiction
- Gotten a written quote that accounts for the possibility of panel work, not just the base installation
- Checked whether your utility offers a charger rebate that requires a specific approved model (see our state-by-state incentive guides) — this can affect which charger you should buy
Bottom Line
The right order is assessment first, charger purchase second — not the other way around. A licensed electrician’s load calculation tells you what your home can actually support, reveals whether you’re facing a straightforward installation or a more involved panel project, and gives you accurate cost expectations before you’ve spent money on equipment. Skipping this step is the single most common reason EV charger installations end up costing more or taking longer than homeowners expect.
This article is for general informational purposes. Always have a licensed electrician assess your specific home’s electrical system before purchasing charging equipment.