Buying your first EV involves a home-side project most new owners underestimate. This checklist walks through everything in order — from figuring out what your home can support to actually plugging in for the first time — pulling together the details covered in more depth throughout this site.
Phase 1: Before You Buy Anything
Assess your driving pattern first.
- Track your typical daily mileage for a couple of weeks if you don’t already know it
- Note whether you have access to workplace charging, which changes how much home charging capacity you actually need
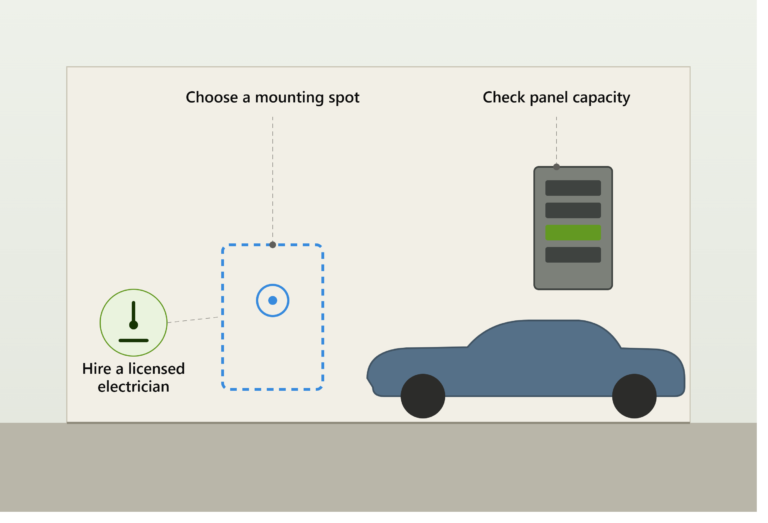
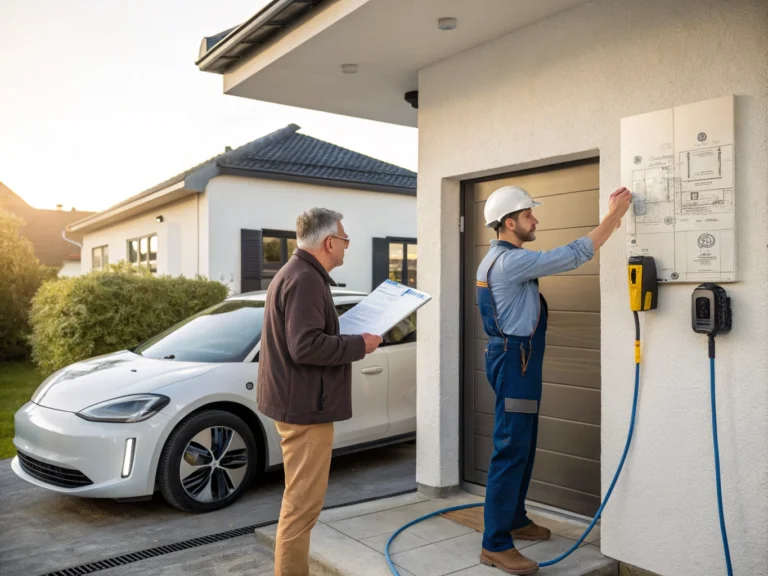
Get a professional electrical assessment before buying a charger.
- Schedule a licensed electrician for a formal load calculation — not just a verbal opinion
- Confirm your panel’s total service size (100A, 150A, 200A) and how much spare capacity actually exists
- Confirm physical breaker space is available, or identify a workaround (tandem breakers, subpanel)
Decide between Level 1 and Level 2.
- If your daily driving is under roughly 30-40 miles, genuinely consider whether Level 1 (using the cable that came with your car, zero installation cost) meets your needs before assuming you need Level 2
- If you drive more, or want the flexibility of a full overnight charge regardless of starting battery level, plan for Level 2
Phase 2: If You Rent or Live in an HOA-Governed Property
- Check whether your parking space already has a usable 120V or 240V outlet nearby — this determines your entire strategy
- If renting, prepare specific questions for your landlord (existing outlets, permission for a NEMA 14-50 install, nearby public charging) rather than a vague request
- If in an HOA or condo, confirm your state’s current right-to-charge law status before assuming either full protection or none
- Review your specific CC&Rs or lease for any existing EV-related provisions
- If no dedicated spot is available, map public and workplace charging near your regular routine as your baseline plan
Phase 3: Choosing and Buying Your Charger
- Confirm your specific vehicle’s maximum AC charging rate (check the owner’s manual) — don’t pay for more amperage than your car can actually use
- Decide between hardwired and plug-in installation based on your electrical setup, whether you rent, and how long you plan to stay in the home
- Choose your connector type (J1772 or NACS) based on your current or planned vehicle
- If outdoor mounting is planned, check the charger’s temperature and weatherproofing rating for your climate
- If you have solar or a home battery, confirm the charger integrates with that specific system before buying
- Check whether your utility’s rebate program requires a specific approved charger model — buying an unlisted model can disqualify an otherwise available rebate
Phase 4: Budgeting and Incentives
- Get an itemized quote covering materials, labor, permit fees, and inspection separately — not a single bundled number
- Get 2-3 quotes from different licensed electricians
- Ask each electrician to justify any recommended panel upgrade with actual load calculation numbers, not just a general recommendation
- Check your specific state’s current incentive programs (see our state-by-state guides) — note that the federal home charger tax credit (30C) and most state EV purchase credits have expired as of mid-2026, so verify what’s genuinely still active rather than assuming older articles are current
- Check your specific utility for any charger rebate or off-peak rate plan, since these are often more reliably available than expired federal or state programs
Phase 5: Hiring an Electrician
- Verify licensing, bonding, and insurance directly rather than taking a company’s word for it
- Confirm they install EV chargers regularly, not just occasionally
- Ask which NEC code edition your local building department currently enforces
- Confirm the permit and inspection process is included in your quote
- Ask about their workmanship warranty specifically, separate from the charger’s manufacturer warranty
Phase 6: Installation Day and After
- Confirm the charger’s mounting location works for your actual parking pattern (nose-in vs. backing-in, cable reach, avoiding trip hazards) before work begins, not after
- Keep all permit and inspection documentation — this matters for warranty claims, insurance, and future home resale
- Set up your charger’s app and enroll in any time-of-use or off-peak rate plan your utility offers
- Set your vehicle’s daily charge limit appropriately for your battery chemistry (roughly 80% for NMC/NCA batteries; 100% is fine, and often recommended, for LFP batteries — check your owner’s manual if you’re not sure which you have)
Phase 7: Ongoing Habits Worth Building From Day One
- Set up scheduled off-peak charging if your utility offers time-of-use rates — this is usually a five-minute setup with meaningful ongoing savings
- Store your charging cable properly (holster or hook) rather than leaving it on the ground
- Do a quick monthly check for firmware updates if your charger doesn’t auto-update
- Know the basic troubleshooting sequence (try a different charger to isolate car vs. charger issues, check the breaker, power-cycle before assuming a real fault) before you actually need it
A Simple Timeline for Reference
| When | What’s happening |
|---|---|
| 4-8 weeks before buying an EV | Electrical assessment, decide Level 1 vs. Level 2, research incentives |
| 2-4 weeks before | Get electrician quotes, choose charger, confirm permit requirements |
| Installation week | Electrician completes wiring, permit inspection scheduled |
| First week of ownership | Set up app, enroll in off-peak rate plan, set charge limit |
| Ongoing | Off-peak scheduling, basic maintenance, periodic firmware checks |
The Three Things Worth Prioritizing If You Only Do a Few
If the full checklist feels like a lot, these three steps prevent the most common and expensive mistakes covered throughout this site:
- Get the load calculation before buying anything. This single step prevents the most common expensive mistake — either an unnecessary panel upgrade or a charger that turns out to be undersized for what you actually need.
- Get multiple itemized quotes. Panel and installation costs vary enormously based on your home’s specific layout, and a single quote gives you no way to know if it’s reasonable.
- Set up off-peak charging from day one. It’s a five-minute task with ongoing savings that compounds for as long as you own the car — the easiest high-value habit on this entire list.
Bottom Line
Preparing your home for your first EV is a genuine project, not a single purchase — but it’s a manageable one when broken into the right sequence: assess before you buy, get real numbers before you commit to a panel upgrade, compare quotes, and build a few simple charging habits from the start. Most of the expensive mistakes new owners make come from skipping the assessment step and buying equipment before knowing what their home actually needs — avoid that, and the rest of this process is straightforward.
This article is for general informational purposes. Always consult a licensed electrician for guidance specific to your home’s electrical system, and verify current incentive programs directly with your state and utility before budgeting around them.